
- the-ultimate-checklist-to-fix-air-conditioner-successfully
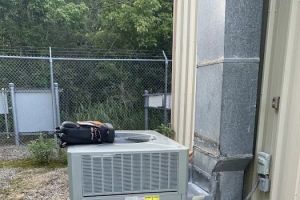
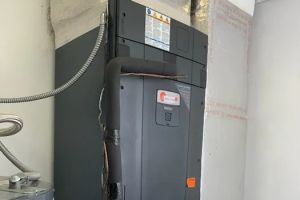
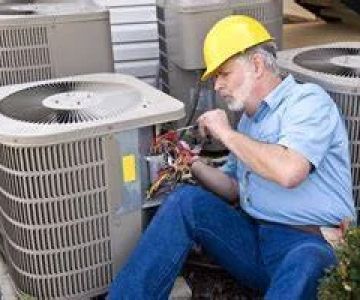
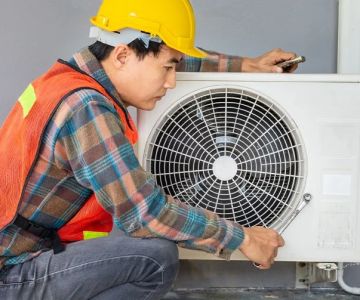
- 1-know-your-ac-unit-inside-and-out
- 2-troubleshooting-before-calling-a-pro
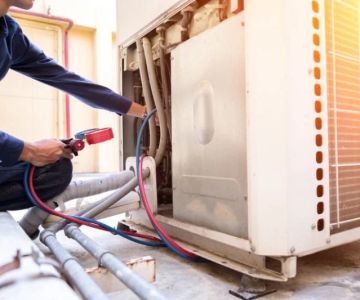
- 3-the-right-tools-make-all-the-difference
- 4-checklist-for-repairing-like-a-pro
- 5-when-to-stop-and-call-in-expert-help
The Ultimate Checklist to Fix Air Conditioner Successfully
When your AC fails in the middle of a scorching summer, frustration sets in fast. But before you panic or throw money at the first technician you find, take a deep breath—because you might be able to fix your air conditioner successfully with the right plan. In this ultimate checklist, tailored for U.S. homeowners, we’ll walk you through what to look for, what tools to use, and when to call in the experts. If you're ever unsure about your next move, visit Ac Fix to get matched with trusted repair solutions based on your system and location.
Fondren and Vaughn Heating & Air
OxfordLafayette CountyMississippi
155 Co Rd 104, Oxford, MS 38655, USA
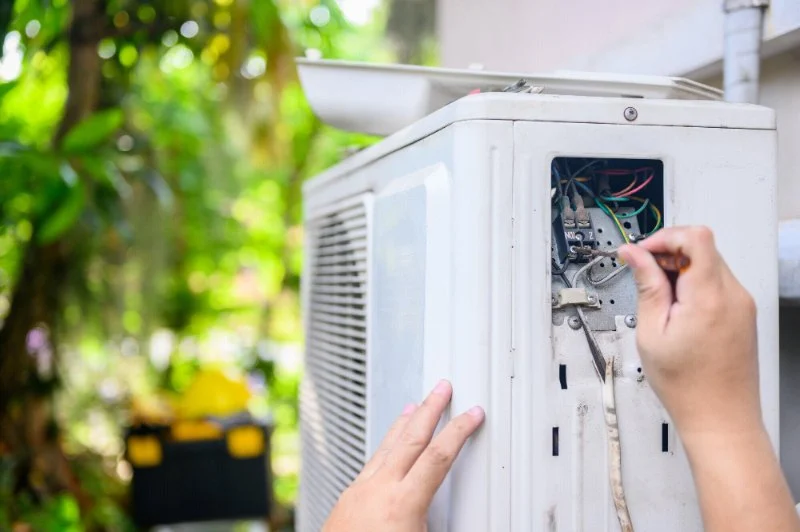
1. Know Your AC Unit Inside and Out
1.1 Identify Your AC Type
Before you start tinkering, it’s crucial to know what kind of air conditioner you’re dealing with. Is it a central HVAC system? A ductless mini-split? A window unit? Each has unique components, troubleshooting paths, and maintenance needs. For instance, a window unit may just need a filter clean, while a central system might involve capacitors and thermostat diagnostics.
Cool Comfort Heating And Cooling
TampaHillsborough CountyFlorida
11104 Bloomington Dr, Tampa, FL 33635, USA
1.2 Locate Key Components
Familiarize yourself with the compressor, condenser coil, evaporator coil, capacitor, fan motor, and drainage lines. Understanding where they are and what they do makes troubleshooting far less intimidating—and more effective.
1.3 Tip from a Phoenix Tech
“More than half of our service calls are resolved just by resetting the breaker or checking for dirty filters,” says a technician from Arizona. “If homeowners knew where the basic parts were, they could avoid a lot of unnecessary calls.”
2. Troubleshooting Before Calling a Pro
2.1 Airflow Issues
If your system is running but not cooling, the issue might be as simple as blocked airflow. Check vents, filters, and duct openings. Dust buildup can severely reduce efficiency. Replace filters if they’re more than 60 days old or look visibly dirty.
2.2 AC Won’t Turn On
Check the thermostat batteries, circuit breaker, and power connections. If nothing works, test the thermostat by setting it to “cool” and lowering the temperature. A soft reset may restore operation.
2.3 Warm Air or No Cooling
Could be low refrigerant, dirty condenser coils, or a faulty compressor. These are more complex but still diagnosable if you listen for unusual noises or see ice forming on coils. Some digital thermostats can show error codes—check the manual or brand site for translation.
3. The Right Tools Make All the Difference
3.1 Basic DIY Toolkit
Before diving in, equip yourself with:
- Multimeter (to check voltage and continuity)
- Fin comb (for straightening bent condenser fins)
- Vacuum (for cleaning drainage line clogs)
- Insulated screwdriver set
- HVAC thermometer
3.2 Safety Gear
Use gloves and eye protection when working around electrical components. If you’re cleaning coils, ensure the system is turned off and disconnected from power. Electrical safety isn’t optional—it’s essential.
3.3 Case Example: DIY Saved $400
In Atlanta, a homeowner noticed their AC kept freezing. Instead of calling a tech immediately, they found a YouTube tutorial, checked the filter, cleaned the coils, and used a wet/dry vac to clear the drain line. It worked—and cost less than $20 in supplies. A local service would’ve charged over $400.
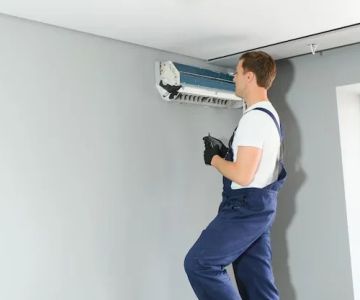
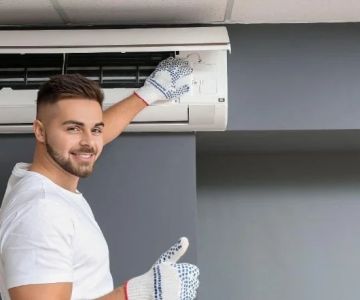
4. Checklist for Repairing Like a Pro
4.1 Turn Off Power Supply
Always shut down the breaker and thermostat before opening any panels or handling wires.
4.2 Clean or Replace Filters
Clogged filters cause over 40% of airflow-related issues. Regular replacements (every 1–3 months) are essential.
4.3 Clear Condensate Line
Use a shop vac to suck debris out of the condensate drain line. This prevents clogs and indoor water damage.
4.4 Inspect Coils
Clean both indoor evaporator and outdoor condenser coils using coil cleaner and a soft brush. Dirty coils lead to heat transfer problems and poor cooling.
4.5 Check Electrical Connections
With the power off, inspect wiring for any signs of burns, fraying, or looseness. Use a multimeter to check capacitor strength and fan motor continuity.
4.6 Reset the System
After completing the checks, turn the system back on and monitor its performance for 15–20 minutes. Listen for strange noises, measure airflow, and feel the cooling consistency from each vent.
5. When to Stop and Call in Expert Help
5.1 Red Flags You Shouldn’t Ignore
If you smell burning, see water leaking from ceiling vents, or hear loud grinding noises, stop immediately. These often indicate severe electrical issues, motor failure, or refrigerant problems that require licensed technician intervention.
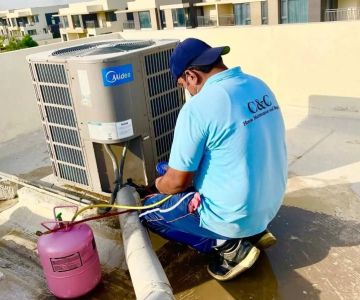
5.2 Handling Refrigerants
Due to EPA regulations, refrigerant handling in the U.S. must be done by certified technicians. Don’t attempt to refill or replace refrigerant yourself—it’s illegal and dangerous.
5.3 The Smart Move
Sometimes, getting professional support is the fastest and safest option. Visit Ac Fix to get matched with licensed, vetted HVAC professionals in your area. We make sure your AC is fixed right—the first time—without hidden fees or poor workmanship.
 Heat & Air Conditioning Arlington4.0 (18 reviews)
 Ferguson HVAC Supply4.0 (21 reviews)
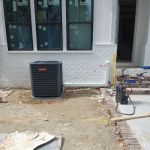 P2P Maintenance & Repair Services3.0 (6 reviews)
 Peacher Plumbing4.0 (96 reviews)
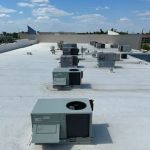 Shoreline Maintenance Group LLC5.0 (125 reviews)
 Hercules HVAC Pro4.0 (39 reviews)
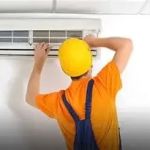 How to Find Who Can Fix My Air Conditioner Without Spending a Fortune
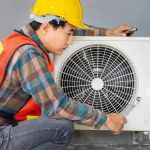 Where to Find Experts Who Can Fix My Air Conditioner in Emergency Situations | Ac Fix
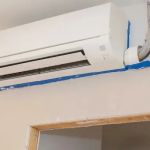 Pros and Cons of Trying to Fix a Wall Air Conditioner on Your Own
 How Long Should It Take to Fix Air Conditioner?
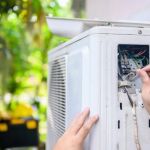 The Ultimate Checklist to Fix Air Conditioner Successfully
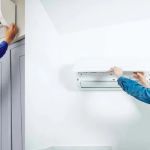 Everything You Need to Know Before You Replace Your Air Conditioning